When the scorching summer heat hits, there’s nothing more refreshing than stepping into a cool and comfortable car. But what happens when your car’s air conditioning starts to lose its chill? Before you rush off to the mechanic and spend a small fortune on repairs, did you know how to discharge car AC at home? That’s right! In this guide, we’ll walk you through the steps of how to safely release the pressure in your car’s AC system without breaking the bank. So roll up your sleeves, grab some gloves, and let’s get started on bringing back that icy cold breeze!
How to discharge car ac at home?
Remember safety first! If you’re unsure about handling automotive repairs yourself always consult with professionals who have experience in dealing specifically these types issues – they’ll ensure everything gets done safely without causing more problems than were originally present. So take a deep breath and get ready to tackle your
1. Find the low pressure port on your car

This port is usually located on the larger diameter aluminum or steel line of the air conditioning system. It may have a blue or black cap with an “L” stamped on it. To locate this port, you will need to open your car’s hood and visually inspect the AC lines that run from the compressor to the condenser and evaporator. Look for a fitting that matches the size and shape of your refrigerant can hose. Be sure not to confuse it with other ports, such as those for high pressure or fuel.
Once you’ve identified the low pressure port, make sure your vehicle is turned off before connecting it to the refrigerant can. This ensures safety and prevents any accidental discharge of refrigerant into the atmosphere. Remember, always follow proper safety precautions when working with automotive air conditioning systems.
2. Connect the low pressure port to the refrigerant can
This process allows for the safe release of refrigerant and prevents any potential damage or leaks. To begin, locate the low pressure port on your vehicle. It is typically located near the larger diameter pipe that runs between the compressor and evaporator. Once you have found it, remove the cap from the low pressure port.
Next, take your refrigerant can and attach it to the low pressure port. Make sure to follow any instructions provided by the manufacturer of both the can and your vehicle. Once securely connected, start up your car’s engine. This will help circulate air throughout the system as you discharge it. After starting your engine, carefully open up the refrigerant can. Be cautious not to puncture or damage it during this process.
When you are finished discharging your car’s AC system, disconnecting and closing off access to low-pressure ports is crucial. Ensure that no refrigerant can escape after removal by properly sealing both ends. Remember that handling automotive refrigerants requires caution and adherence to safety guidelines outlined by professionals in order to prevent harm or injury during this process.
3. Start your vehicles engine

Once you have connected the low-pressure port to the refrigerant can, it’s time to get your engine running. This will allow the refrigerant to circulate through the system and help facilitate the discharge process.
To start your engine, simply insert your key into the ignition and turn it clockwise. Listen as you hear the roar of your engine coming to life. Feel that surge of power coursing through every part of your vehicle.
As your engine warms up, let it run for a few minutes before proceeding with disconnecting the refrigerant can from the low-pressure port. This will ensure that all parts are functioning properly and ready for discharge.
Remember, safety is crucial throughout this entire process. Be sure to work in a well-ventilated area and avoid inhaling any fumes or gases released during discharge. Take necessary precautions such as wearing gloves and eye protection.
Starting your vehicle’s engine not only helps kickstart the discharge process but also ensures that everything is operating smoothly before moving on to subsequent steps. So go ahead, turn that key, and feel empowered as you take control of releasing pressure from your car AC system!
4. Remove the refrigerant can and open it
Once you have connected the low pressure port of your car to the refrigerant can, it’s time to move on to the next step. Now, you need to remove the refrigerant can and open it. This is a crucial part of discharging your car AC system.
To do this, carefully unscrew the valve cap on top of the can. Make sure to hold onto both ends securely as you do so. Once the cap is off, set it aside in a safe place where it won’t get lost.
With the valve cap removed, you are ready to open up the refrigerant canister itself. Be cautious when handling it as some cans may still contain pressurized gas inside. You may want to wear gloves for added safety.
Now, locate the small metal tab or ring around one end of the canister and gently pull or push it upwards until you hear a hissing sound indicating that pressure has been released from within.
Remember that releasing refrigerants into the atmosphere is harmful and illegal in many places due to its contribution towards global warming. Always follow proper disposal procedures and regulations when dealing with these substances.
By removing and opening up the refrigerant can properly, you are ensuring an effective discharge of your car AC system while also being mindful of environmental concerns associated with handling these chemicals responsibly.
5. Disconnect the low pressure port from the refrigerant can and close it
Once you have successfully connected the low pressure port to the refrigerant can and started your vehicle’s engine, it is time to move on to this next step. To disconnect the low pressure port, carefully remove the fitting that connects it to the refrigerant can. Make sure to do this slowly and cautiously, as there may still be some pressure in the system. As you disconnect it, be prepared for a small hissing sound or release of air.
Once disconnected, immediately close off the low pressure port by replacing its cap or using a valve tool if necessary. This will prevent any further leakage or contamination of refrigerant. It’s crucial to handle this step with care as mishandling can result in injury or damage to your car’s AC system. Always follow safety precautions and consult professional guidance if needed. Remember, each step plays an essential role in properly discharging your car AC at home! Stay tuned for our next blog section where we discuss how to turn on your car’s air conditioning after completing these steps!
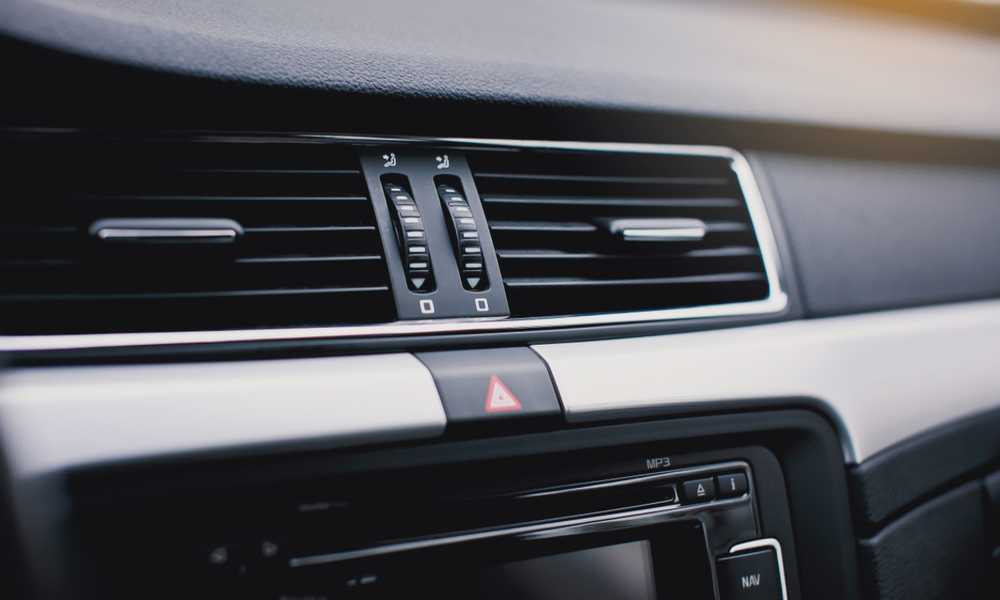
6. Turn on your cars air conditioning

So, you’ve successfully connected the low pressure port to the refrigerant can and closed it. Now it’s time for the next step: turning on your car’s air conditioning. Once everything is properly connected and sealed, start your vehicle’s engine. This will allow the refrigerant to circulate through the system. As you turn on the AC, you may notice a change in sound or feel as cool air starts flowing from the vents.
The purpose of turning on your car’s air conditioning during this process is to ensure that any remaining refrigerant in the system gets discharged completely. By running the AC, you’re allowing any trapped gas or liquid to escape safely. Keep an eye out for any signs of leakage or unusual sounds while running your car’s air conditioning. If you observe anything out of the ordinary, it may be best to consult a professional technician who can inspect and fix any potential issues with your AC system.
Remember, safety should always be a priority when working with automotive systems. Take necessary precautions and follow all guidelines provided by manufacturers and experts before attempting to discharge your car’s AC at home. Stay tuned for more tips on how to keep your vehicle running smoothly!
Why do I need to discharge my car AC?
Well, there are a few reasons why this might be necessary. First and foremost, if you’re planning on doing any repairs or maintenance on your car’s air conditioning system, releasing the pressure is essential for safety reasons. The refrigerant in the AC system can be under high pressure, making it potentially dangerous if not handled correctly. Discharging the AC also allows for a more accurate assessment of any issues that may be present. By removing the refrigerant and starting with a clean slate, you can better diagnose problems such as leaks or compressor malfunctions. Another reason to discharge your car AC is if you’re planning on replacing certain components like the compressor or condenser. These parts often require removal of refrigerant before they can be replaced.
Discharging your car AC can help prevent environmental harm. The refrigerants used in older vehicles contain chlorofluorocarbons (CFCs) which are harmful to the ozone layer when released into the atmosphere. Properly disposing of these substances ensures their safe containment and prevents further damage to our environment. So whether it’s for safety reasons, diagnosing issues accurately, replacing components effectively, or protecting our planet – discharging your car AC at home is an important step in maintaining your vehicle’s air conditioning system properly!
How do I release the AC pressure in my car?

Releasing the AC pressure in your car is a crucial step if you plan on working on your car’s air conditioning system. By doing so, you ensure that no harmful or pressurized refrigerant is released into the atmosphere. So, how do you release the AC pressure in your car? It’s important to note that discharging the AC system should only be done by individuals who are familiar with automotive repair and have proper equipment. If you’re not confident in your abilities, it’s always best to seek professional help.
To begin releasing the AC pressure, locate the low-pressure port on your car. This can usually be found near the firewall or close to where the compressor is located. Once you’ve located it, connect a refrigerant can tap valve to this port. Next, start your vehicle’s engine and turn on its air conditioning at maximum setting while keeping all windows open for ventilation. This will allow any remaining refrigerant in the system to escape gradually.
Once you’ve allowed enough time for all of the pressure to dissipate from your car’s AC system, turn off both the engine and air conditioning unit. Disconnect the low-pressure port from the refrigerant can tap valve and securely close it. Remember, safety should always be prioritized when working with any automotive systems involving hazardous materials like refrigerants. Following these steps carefully will help ensure a smooth discharge of your car’s AC pressure without causing harm to yourself or others around you.
Final thoughts
Discharging your car AC at home can be a simple and cost-effective solution when you need to release the pressure in your system. By following these steps, you can safely remove the refrigerant from your car’s AC and avoid any potential damage. However, it is important to note that discharging the AC should only be done if absolutely necessary and with caution. If you are inexperienced or unsure about handling automotive systems, it is always recommended to seek professional assistance.
Remember, maintaining a properly functioning car AC is essential for your comfort on the road during those hot summer months. Regular maintenance checks and servicing by qualified technicians will help keep your AC running efficiently and prolong its lifespan. So, next time you find yourself needing to discharge your car’s AC at home, refer back to this guide for step-by-step instructions. Stay cool and drive comfortably! Now that you know how to discharge your car’s AC at home, why not share this knowledge with friends or family who may also find it useful? And as always, if you have any questions or suggestions related to this topic, feel free to leave them in the comments below. Safe driving!